This is the tutorial of one of the previous exercises on slow in and slow out. I decided to make a tutorial with images and text explaining all of my steps for the completion of this project.
I apologise for the delay of this assessment.
The exercise is the SlowinOut Newton's Cradle and I used Autodesk Maya to complete it.
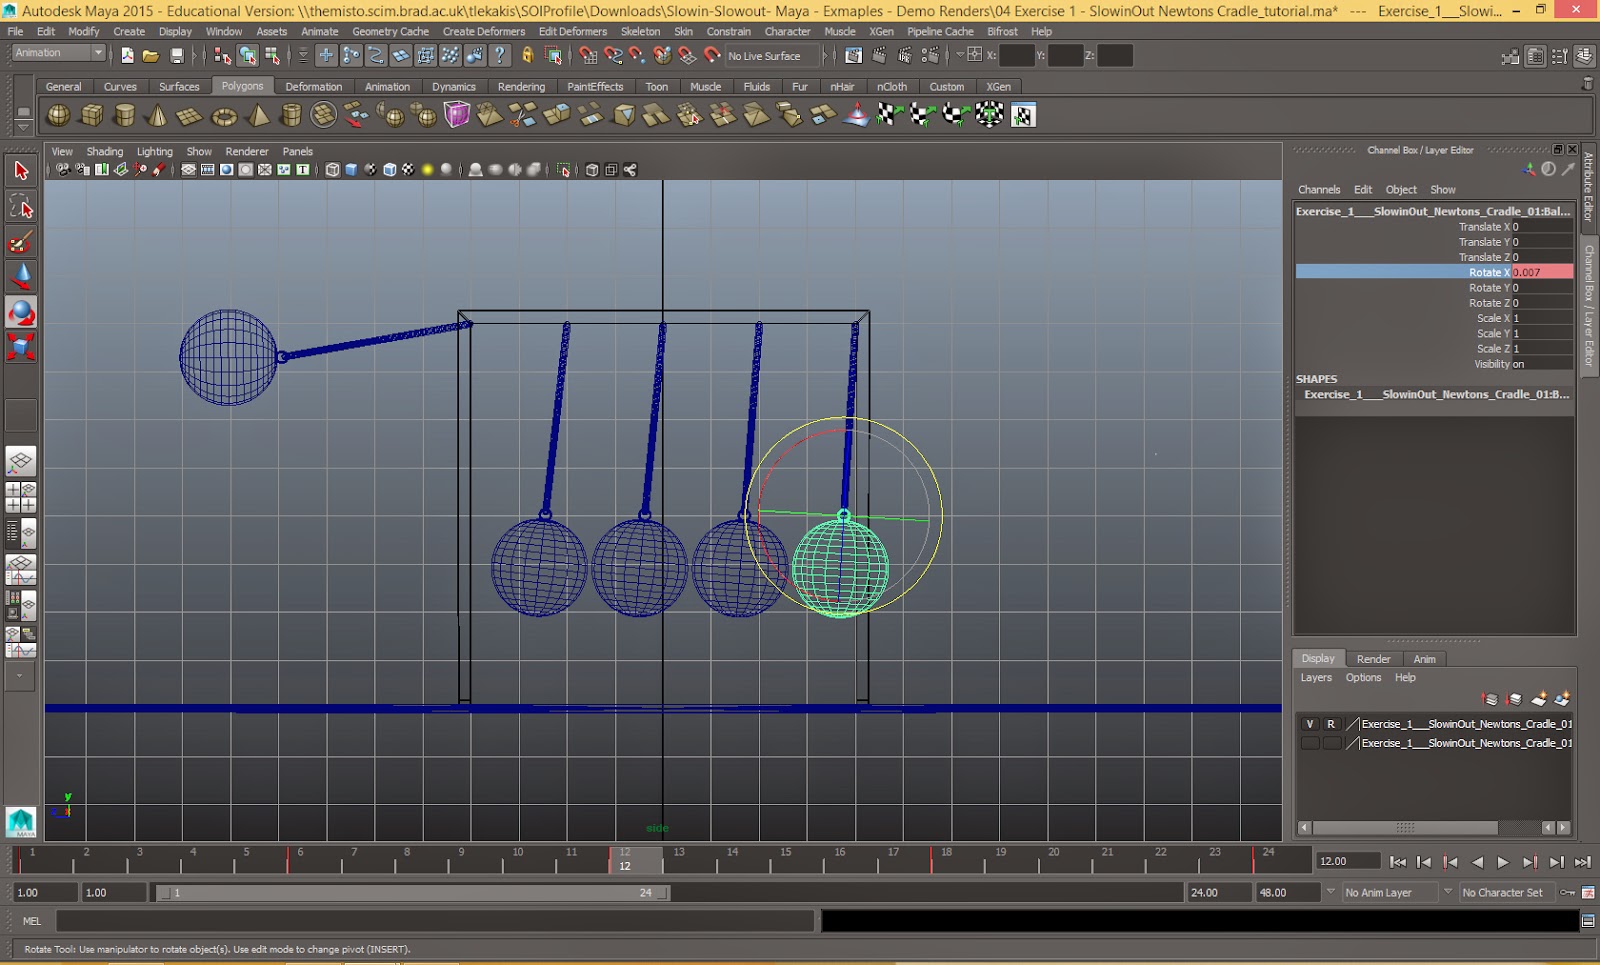
Initially, this is the scene with the cradle, lights and cameras.
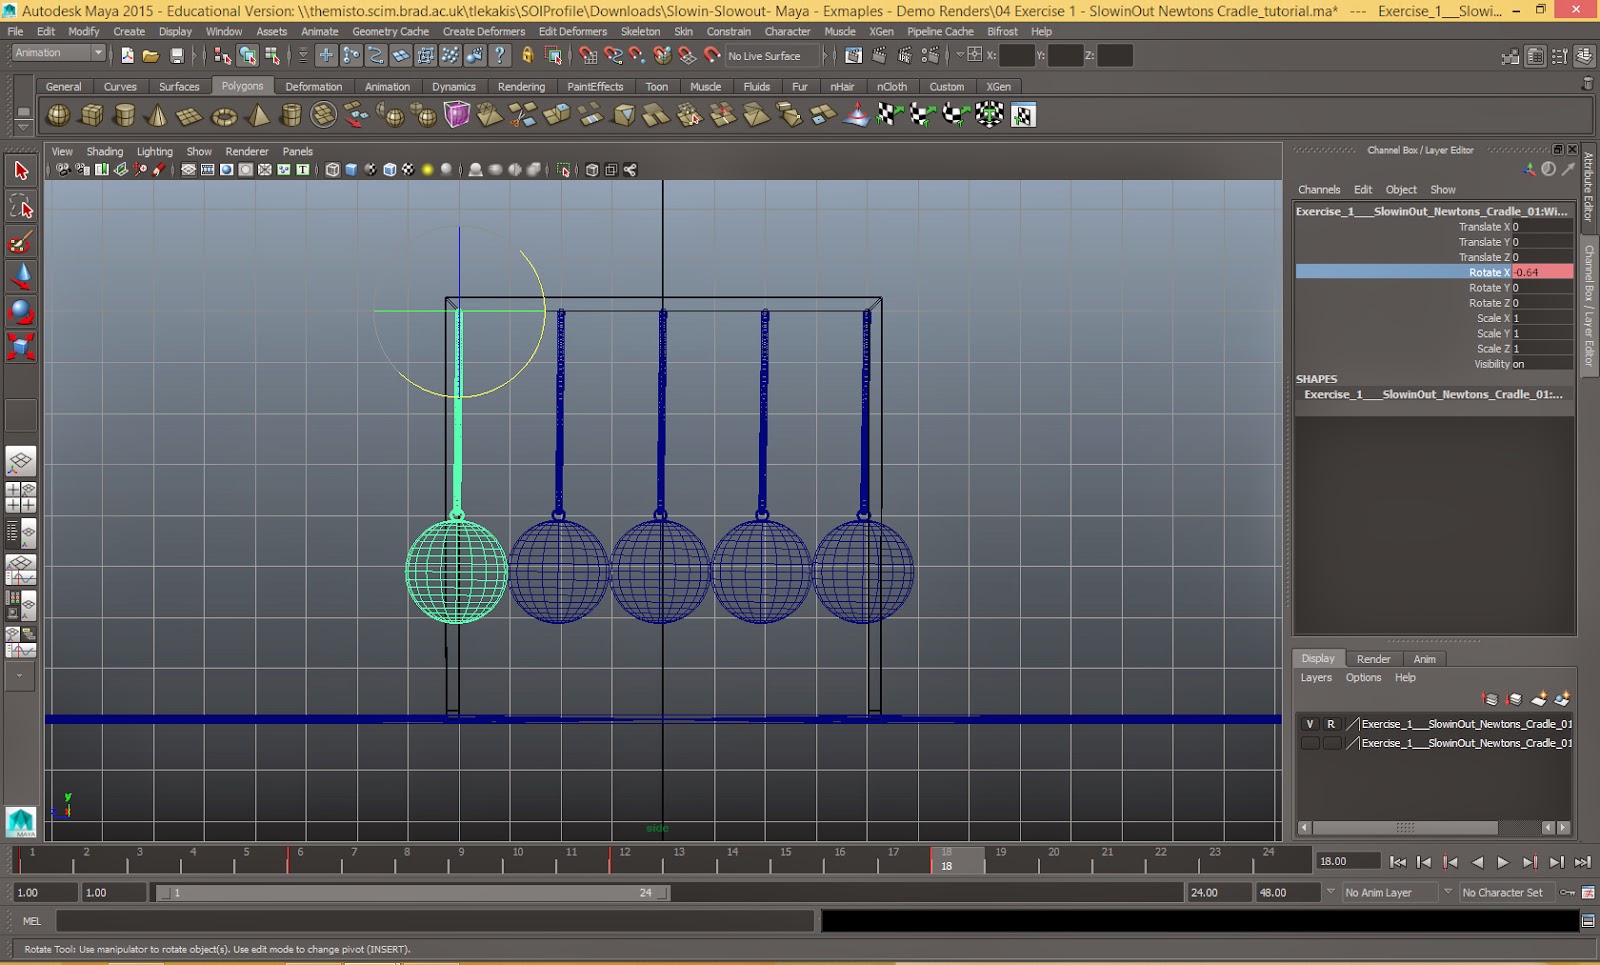
Begin by selecting each wire of the balls, except from the right one and set a keyframe on frame
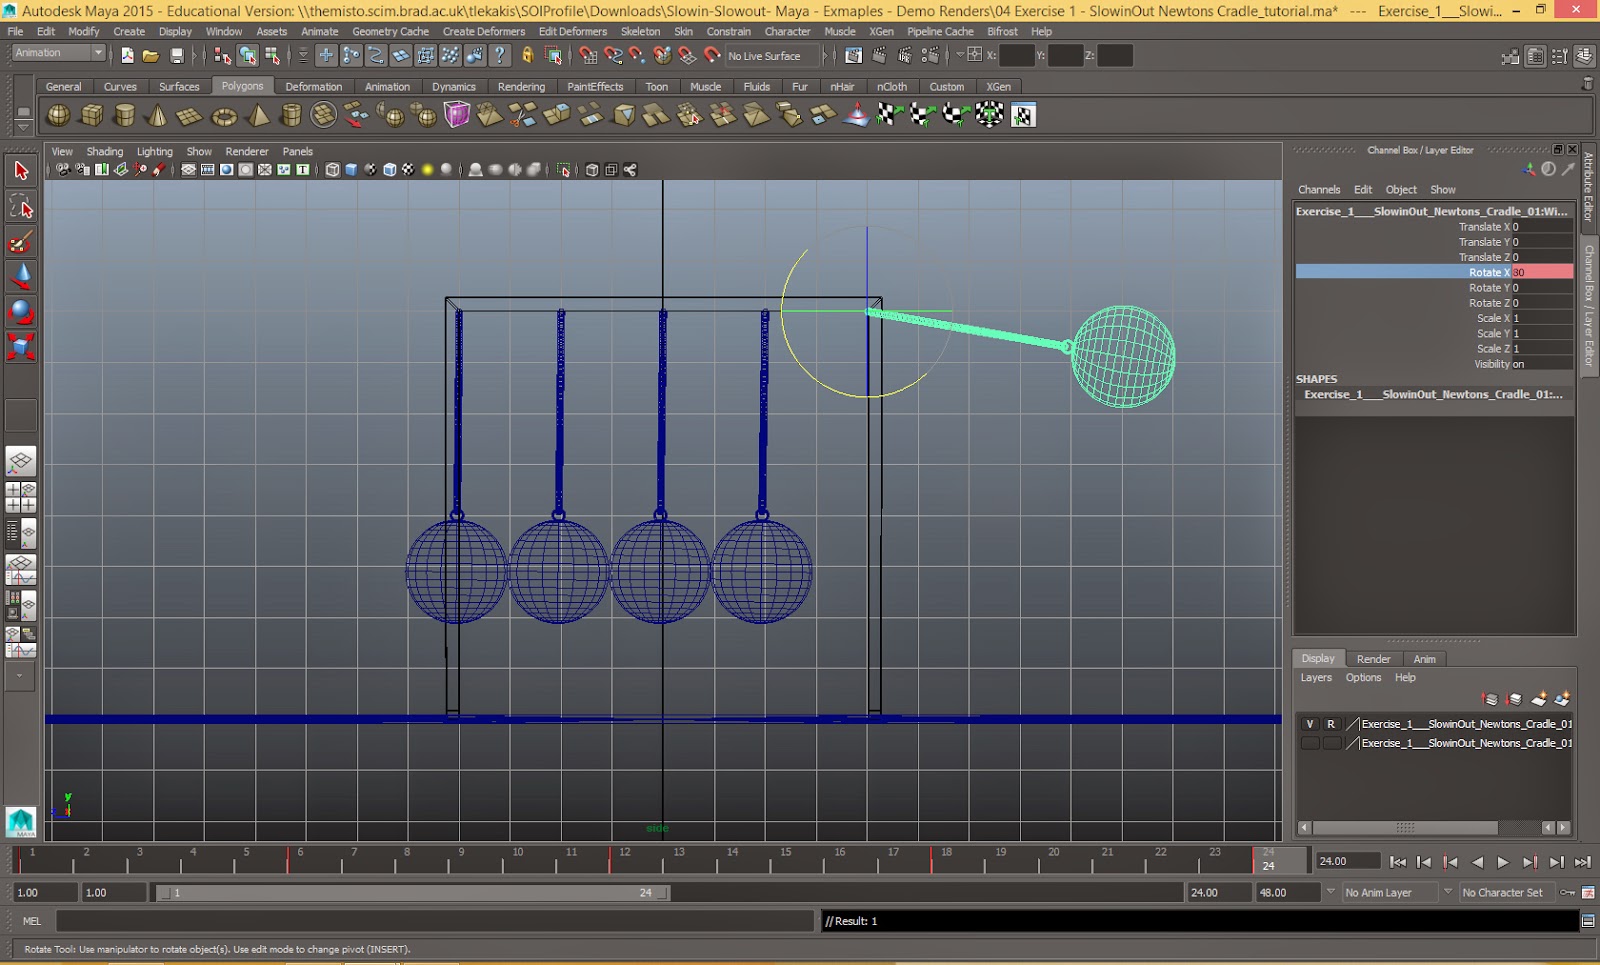
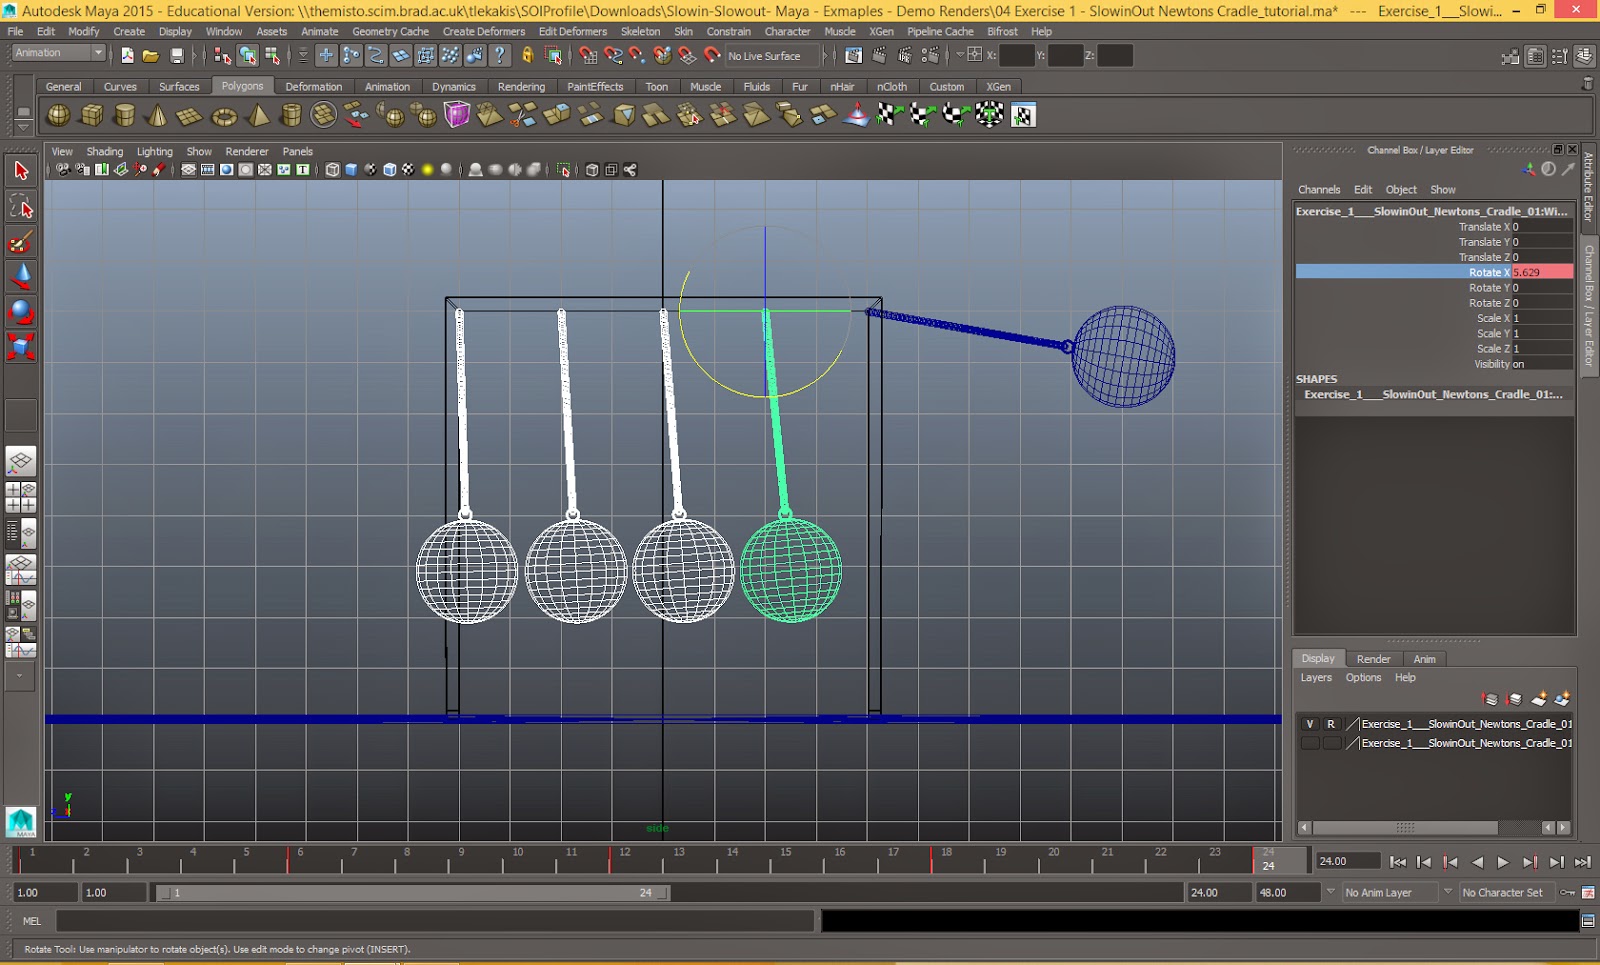
Next, go to frame 12, rotate the wire of the left outer ball by -80 degrees and set a key. This is because this wire has to be rotated similar with the degrees of the opposite one, as the energy is firstly transferred with no reduction. Select the wires of the remaining balls and rotate them slightly to give the impression of the power transferred on frame 12 and set a key , and make them contact again on frame 18.
Additionally, animate the remaining wire to contact the other balls, creating the second hit of the cradle on frame 18. Copy and paste the attributes of each object from frame 1 on frame 24, so when the loop animation is generated, the motion will repeat continuously.
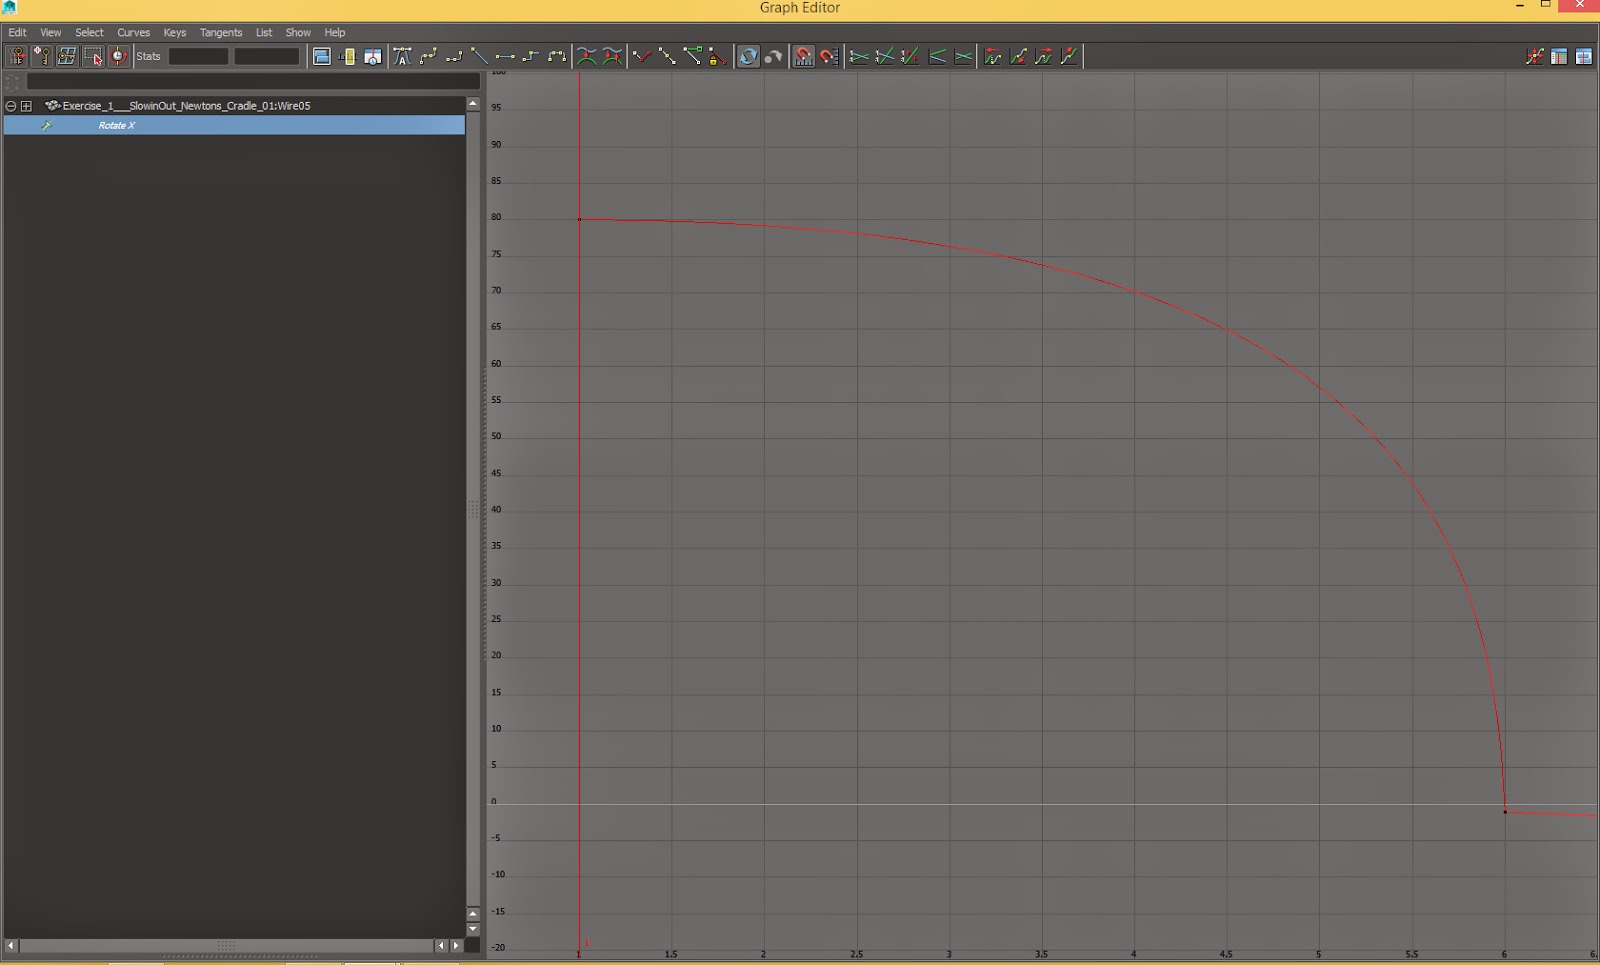
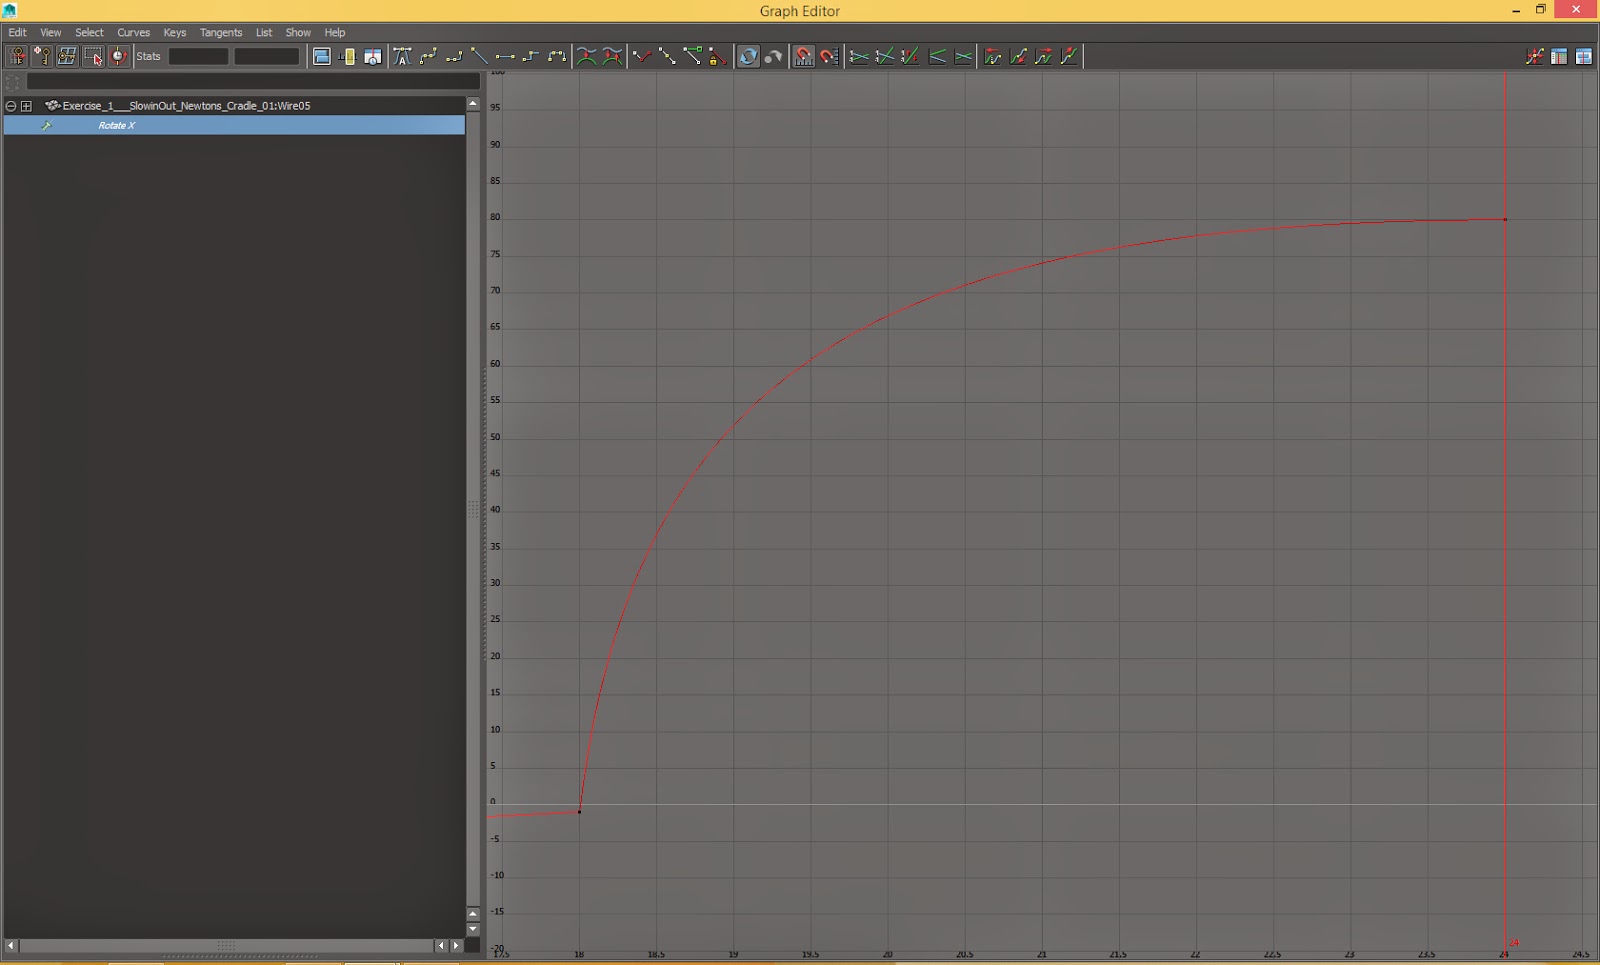
The timing is set, however, this is the moment to edit the spacing. Select the wire of the right ball on frame 1 and navigate to Window - Animation Editors - Graph Editor. Choose the Rotate X value from the menu on the right, so you can isolate only these curves (this would be more efficient if you had to animate different attribute of the same mesh) and draw a drag box to choose all of them . After that, navigate to the Curves menu, select Weighted Tangents, then navigate to the Tangents menu and select Break Tangents and Free Tangent Weight. This will make you have a greater control over the curve manipulation, also the broken tangents will enable you to edit each one separately, depending on each motion. The ball accelerates when hitting the balls, so select the tangent on frame 1 and make it Flat from the icons menu above, also select the tangent on frame 6 and make it Linear. Grab the handles to edit the curve, as the image shown, to reinforce the acceleration.
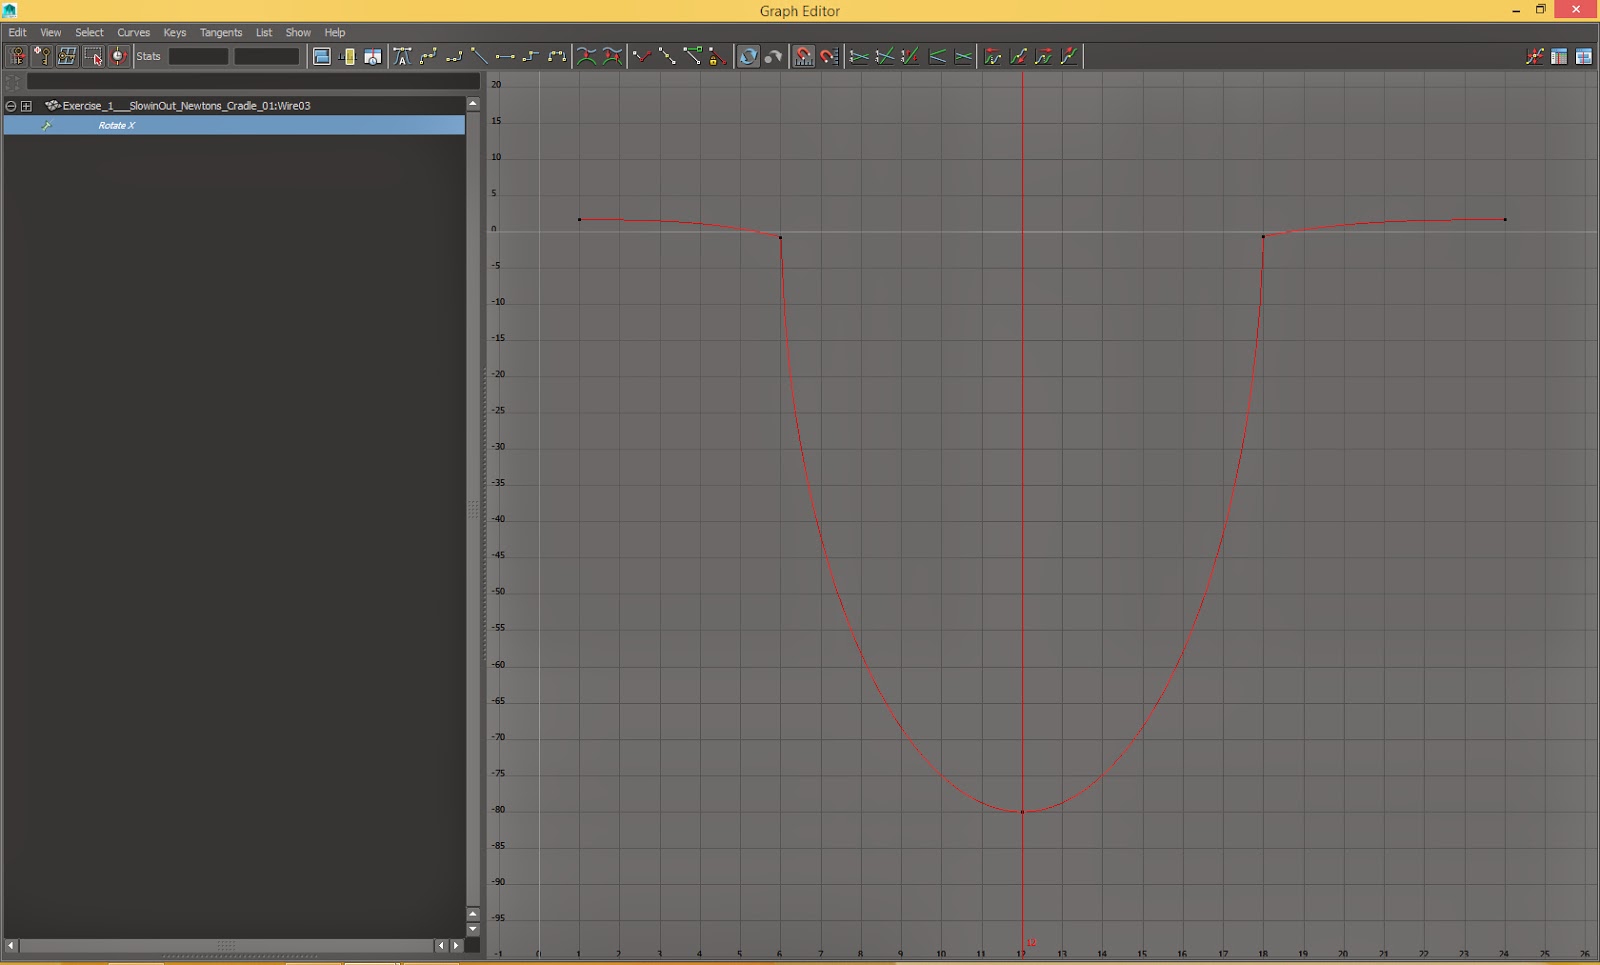
The animation of the other wire is the opposite. The energy is transferred on the left ball, so it moves very fast in the beginning and decelerates. Apply the same commands about the tangents, however, you could unify the tangents on frame 12 to make the changes of the ease at the same time when the ball reaches its extreme pose and accelerates again. Thus, make the tangent on frame 6 Linear, and the one on frame 12 flat and move the Flat ones by pressing the Shift button to maintain the handle horizontal and the frames close to each other, forming an ease in and an ease out from frames 6 to 12 and 12 to 18 respectively. Select the handle on frame 18 and make it Linear. Move the handles, as the image shown, to enhance the deceleration and the acceleration of the ball. Choose the right wire and create a deceleration, because the ball is hit and reaches its extreme pose again.
In order to improve your animation, you could choose the balls and set keyframes on rotations. This will create a smoother flow of the motion, and will depict the energy passing through the objects better. Edit the curves in the Graph Editor according to the ones of the wires, in order to create a coherent motion.
Grab the little box of the Range Slider on the right and make the viewable timeline shorter to 1-23 frames. Because the frames 1 and 24 are the same, the final playblast video would play the same frame two times and the animation would appear very odd. Right click on the timeline, choose Playblast to create the animation.
This is the playblast of the complete animation.




What a great idea doing a tutorial to demonstrate your learning (o: Fantastic blog too!!!
ReplyDelete